> ## Documentation Index
> Fetch the complete documentation index at: https://mvnt.studio/docs/llms.txt
> Use this file to discover all available pages before exploring further.
# Use MVNT inside ComfyUI
> Install the comfyui-mvnt custom node package, connect your MVNT API key, and build an audio-to-dance workflow directly inside ComfyUI.
The `comfyui-mvnt` package adds MVNT motion generation as native nodes inside ComfyUI. Once installed, you can wire audio files through a chain of MVNT nodes to produce a 3D preview and a dance video — no separate API client or scripting required. The source repository is at [github.com/mvnt-app/ComfyUI-MVNT](https://github.com/mvnt-app/ComfyUI-MVNT).
## Install the package
Choose whichever method fits your ComfyUI setup.
1. Open ComfyUI Manager from the ComfyUI interface.
2. Search for **MVNT**.
3. Select `comfyui-mvnt` from the results and click **Install**.
4. Restart ComfyUI when the install completes.
Run the following command from your terminal, then restart ComfyUI:
```bash theme={null}
comfy node registry-install comfyui-mvnt
```
Clone the repository into your ComfyUI custom nodes directory, install the Python dependencies, then restart ComfyUI:
```bash theme={null}
cd ComfyUI/custom_nodes
git clone https://github.com/mvnt-app/ComfyUI-MVNT.git comfyui-mvnt
cd comfyui-mvnt
python3 -m pip install -r requirements.txt
```
## Set up your API key
You can provide your MVNT API key in two ways.
**Environment variable** — set this before launching ComfyUI:
```bash theme={null}
export MVNT_API_KEY=mvnt_live_xxxxxxxxxxxx
```
**Node field** — paste your key directly into the `api_key` field on any MVNT node in the ComfyUI canvas.
You can create and manage API keys in [MVNT Studio Platform](https://www.mvnt.studio/platform).
Never export or commit a workflow JSON file that contains an API key. ComfyUI workflow exports can embed node field values, including the `api_key` field. If a key appears in a workflow file, logs, or Git history, revoke it immediately in [MVNT Studio Platform](https://www.mvnt.studio/platform) and generate a new one. Use the environment variable approach to keep keys out of workflow files entirely.
## Build a basic workflow
This section shows how to generate 3D dance motion from music using the ComfyUI toolbox. The workflow is a node-based pipeline where each chained node prepares, submits, and previews the audio-to-motion generation result.
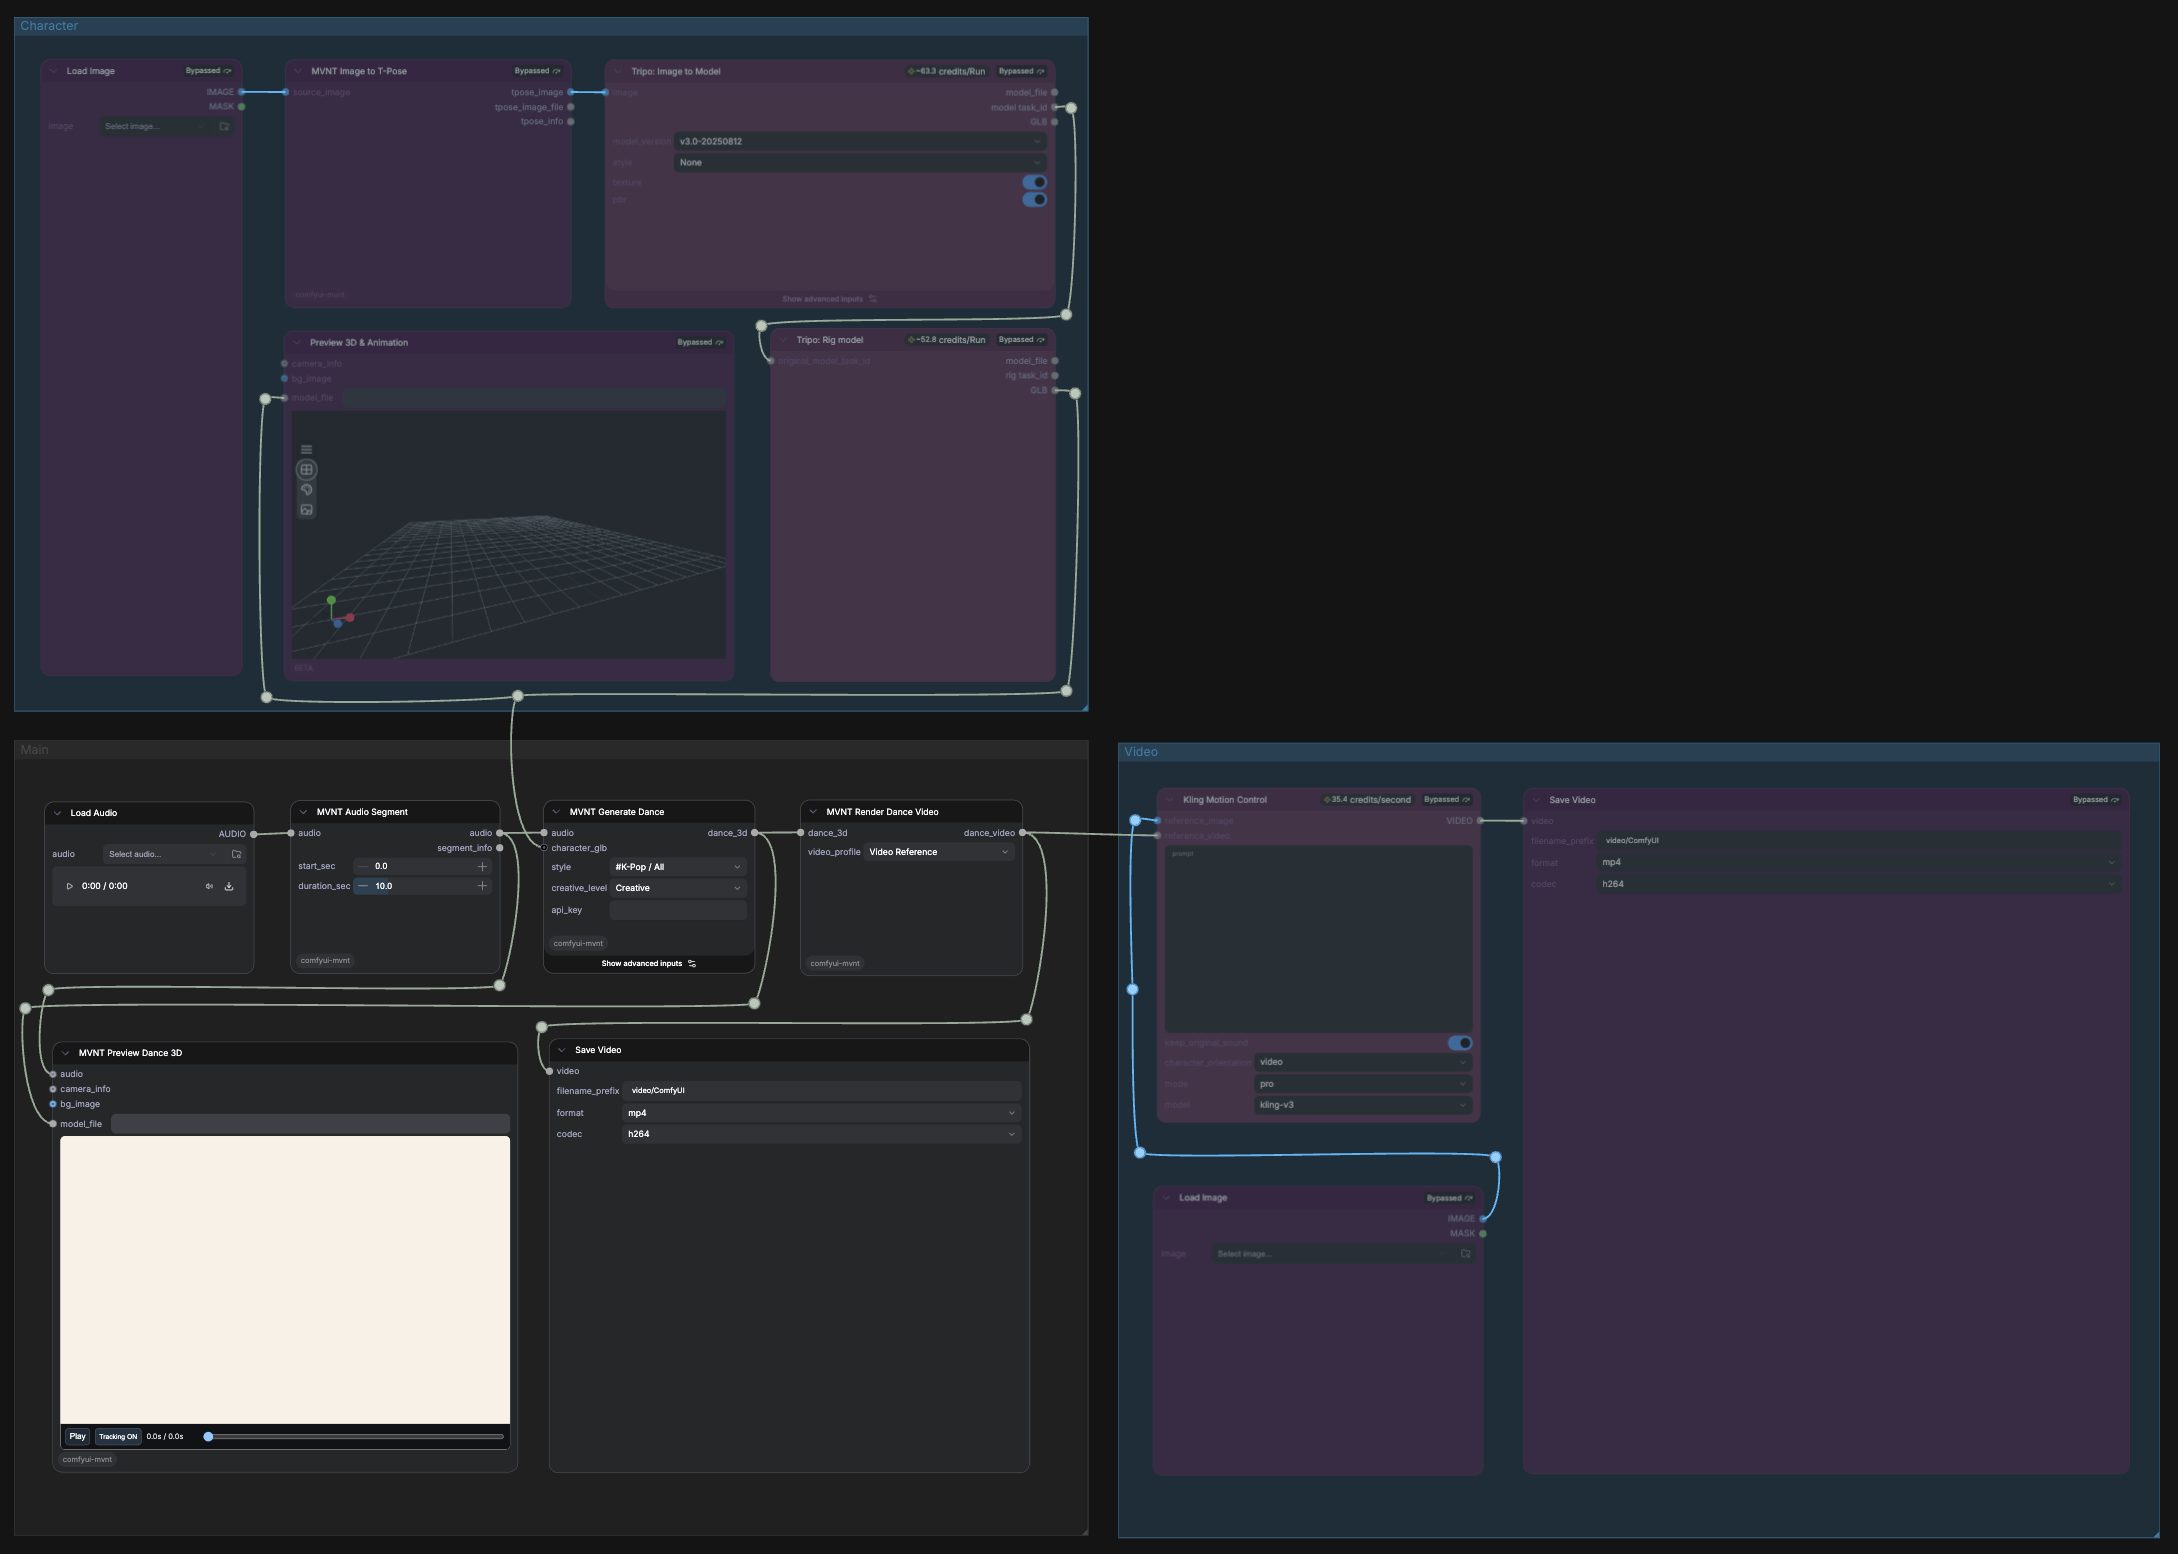
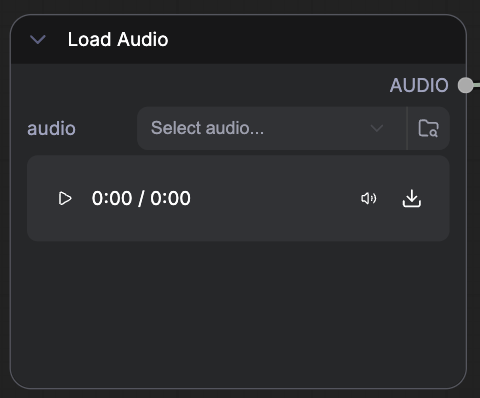 Add a **Load Audio** node and point it to your input audio file. Currently, only .wav files are supported. This node is a standard ComfyUI node that passes audio data downstream.
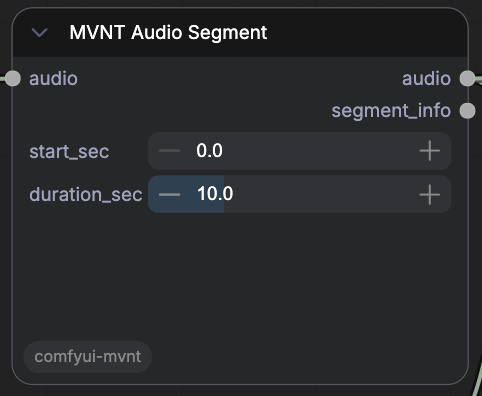 Connect the audio output to an **MVNT Audio Segment** node. This node trims or segments the audio to a range suitable for dance generation.
* `start_sec`: The segment start time, in seconds.
* `duration_sec`: The duration of the generated audio segment, in seconds. Defaults to 10 seconds, supports up to 40 seconds, and can be adjusted in 0.1-second increments.
Connect the audio output to an **MVNT Audio Segment** node. This node trims or segments the audio to a range suitable for dance generation.
* `start_sec`: The segment start time, in seconds.
* `duration_sec`: The duration of the generated audio segment, in seconds. Defaults to 10 seconds, supports up to 40 seconds, and can be adjusted in 0.1-second increments.
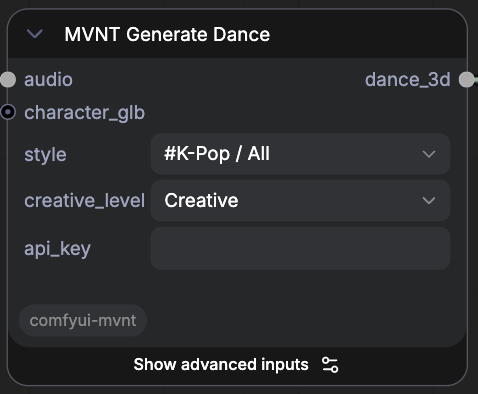 Wire the segmented audio into an **MVNT Generate Dance** node. This node submits the audio to the MVNT API and returns the generation outputs when the job completes. This node uses the MVNT model to generate 3D motion from music. By default, generation uses the MVNT original character. To generate with a custom character, see the [Character control section](#character-control).
1. Choose the desired motion style in the `style` field.
2. Enter your issued API key in `api_key`.
3. Optional advanced input: set a seed value. The default is `-1`.
You can now preview or save the generated output.
Wire the segmented audio into an **MVNT Generate Dance** node. This node submits the audio to the MVNT API and returns the generation outputs when the job completes. This node uses the MVNT model to generate 3D motion from music. By default, generation uses the MVNT original character. To generate with a custom character, see the [Character control section](#character-control).
1. Choose the desired motion style in the `style` field.
2. Enter your issued API key in `api_key`.
3. Optional advanced input: set a seed value. The default is `-1`.
You can now preview or save the generated output.
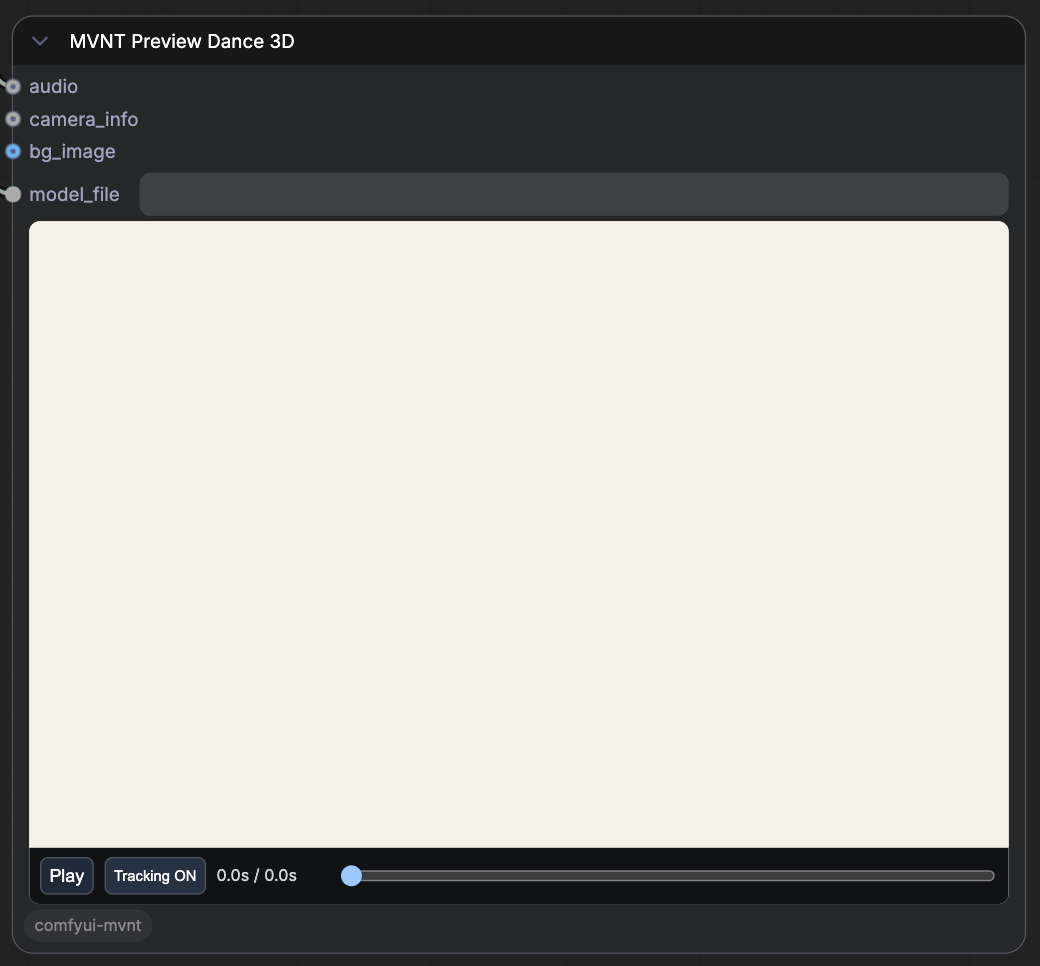 Connect the generation output to an **MVNT Preview Dance 3D** node to view the result in the ComfyUI canvas.
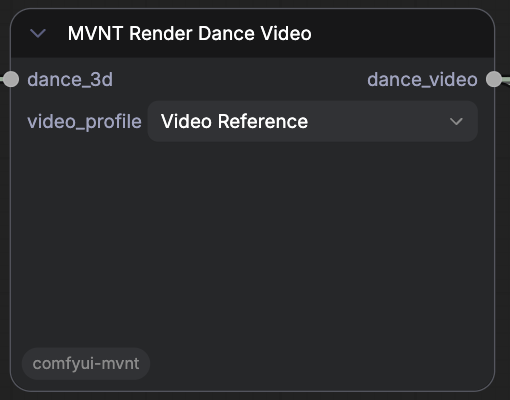 Render the generated output as a 2D video. For 2D video control using the kling `video_profile`, see the [Video control section](#video-control).
* `video_profile`: Specify the rendering settings to use. The default is `Video Reference`.
Render the generated output as a 2D video. For 2D video control using the kling `video_profile`, see the [Video control section](#video-control).
* `video_profile`: Specify the rendering settings to use. The default is `Video Reference`.
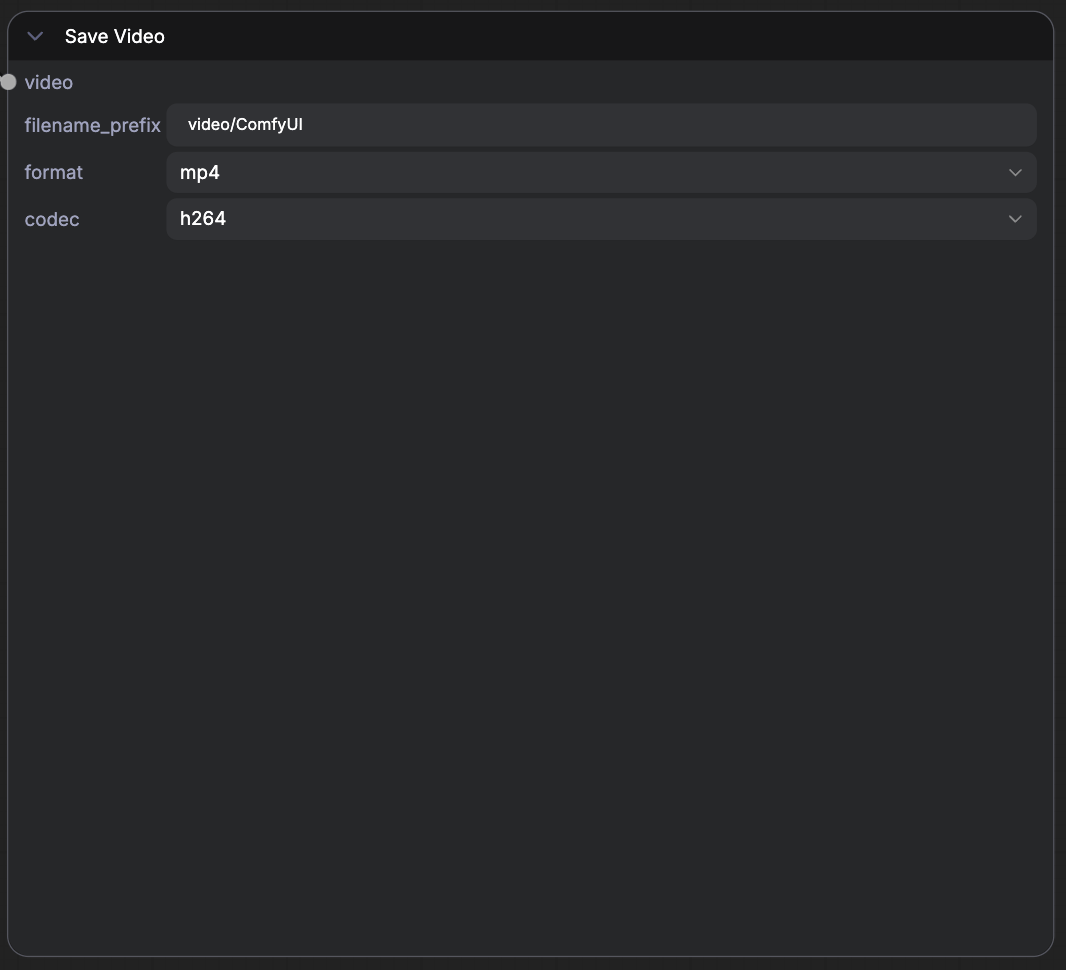 Use `filename_prefix`, `format`, and `codec` to configure the file name and rendering information. When generation completes, you will find two output files in your ComfyUI output directory:
```text theme={null}
mvnt_.motion.glb
mvnt_.dance.mp4
```
## Character Control
Use character control when you want the generated dance to run on your own character instead of the MVNT original character. **MVNT Generate Dance** accepts an optional `character_glb` input. When a compatible character GLB is connected, MVNT generates the motion first, then retargets that motion to the supplied character. The `dance_3d` output becomes the animated custom-character GLB.
Use `filename_prefix`, `format`, and `codec` to configure the file name and rendering information. When generation completes, you will find two output files in your ComfyUI output directory:
```text theme={null}
mvnt_.motion.glb
mvnt_.dance.mp4
```
## Character Control
Use character control when you want the generated dance to run on your own character instead of the MVNT original character. **MVNT Generate Dance** accepts an optional `character_glb` input. When a compatible character GLB is connected, MVNT generates the motion first, then retargets that motion to the supplied character. The `dance_3d` output becomes the animated custom-character GLB.
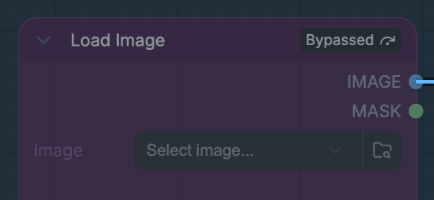 Add a **Load Image** node and select a clear, full-body character image. A front-facing image with the full body visible works best for creating a clean character reference.
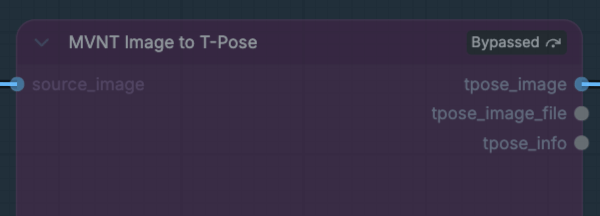 Connect the image to an **MVNT Image to T-Pose** node. This node converts the source character image into a front-facing T-pose image that can be used by a compatible character or rigging workflow.
Use Tripo's [model generation workflow](https://docs.comfy.org/tutorials/partner-nodes/tripo/model-generation) to turn the T-pose character image into a rigged GLB that MVNT can animate.
* Add Tripo's **Image to Model** and **Rig Model** nodes.
## Video Control
Use video control when you want the MVNT model to drive motion in a 2D image-to-video workflow. Generate dance motion with **MVNT Generate Dance**, use the `kling` video profile output as the motion reference, then follow Kling's [Motion Control workflow](https://docs.comfy.org/tutorials/partner-nodes/kling/kling-motion-control) to animate your target image.
* `reference_image`: Upload the image you want to animate.
* `reference_video`: The `kling` video profile output from **MVNT Generate Dance** is used automatically.
Connect the image to an **MVNT Image to T-Pose** node. This node converts the source character image into a front-facing T-pose image that can be used by a compatible character or rigging workflow.
Use Tripo's [model generation workflow](https://docs.comfy.org/tutorials/partner-nodes/tripo/model-generation) to turn the T-pose character image into a rigged GLB that MVNT can animate.
* Add Tripo's **Image to Model** and **Rig Model** nodes.
## Video Control
Use video control when you want the MVNT model to drive motion in a 2D image-to-video workflow. Generate dance motion with **MVNT Generate Dance**, use the `kling` video profile output as the motion reference, then follow Kling's [Motion Control workflow](https://docs.comfy.org/tutorials/partner-nodes/kling/kling-motion-control) to animate your target image.
* `reference_image`: Upload the image you want to animate.
* `reference_video`: The `kling` video profile output from **MVNT Generate Dance** is used automatically.